01 / WHY I STARTED
For people who like to wander.
I started climbing after moving from outside the capital region to the Seoul area. What I liked was being able to hop between different climbing gyms. Each gym sets its problems with a different flavour, so a new gym is a new kind of fun.
After a session I eat something good nearby and look around the neighbourhood. For me a climbing day is both a workout day and a day out in another part of town. I think it suits people who find it a pity to stay in one place.
Not a vow to stick with it. One problem today.
If you tend to get bored of hobbies quickly, climbing’s small goals may appeal to you. Finishing one problem leaves that much achievement behind, and you can try the next one. That taste of small wins is what I’d recommend.
02 / TRY IT FIRST
Try it once for ₩30,000.
I rented climbing shoes at first too. You don’t need to buy shoes before your first visit. Start with rentals, see whether the sport suits you, and think about buying when you want to keep going.
Seoulsup Climbing Guro (서울숲클라이밍 구로점) · one-day trial
₩30,000
Lesson + open climbing + rental shoes
Location and booking info (Korean) Based on the package information the author provided on 2026-10-13. The price and what’s included may change, so check before you book. I have not confirmed whether the gym offers English-language support or booking for visitors from abroad.For a first visit, look for that gym’s beginner lesson or one-day trial first. You can learn basic etiquette and safety rules before you start. I’d recommend a package that includes a lesson rather than booking open climbing only.
My first day was at Seoulsup Climbing Guro.
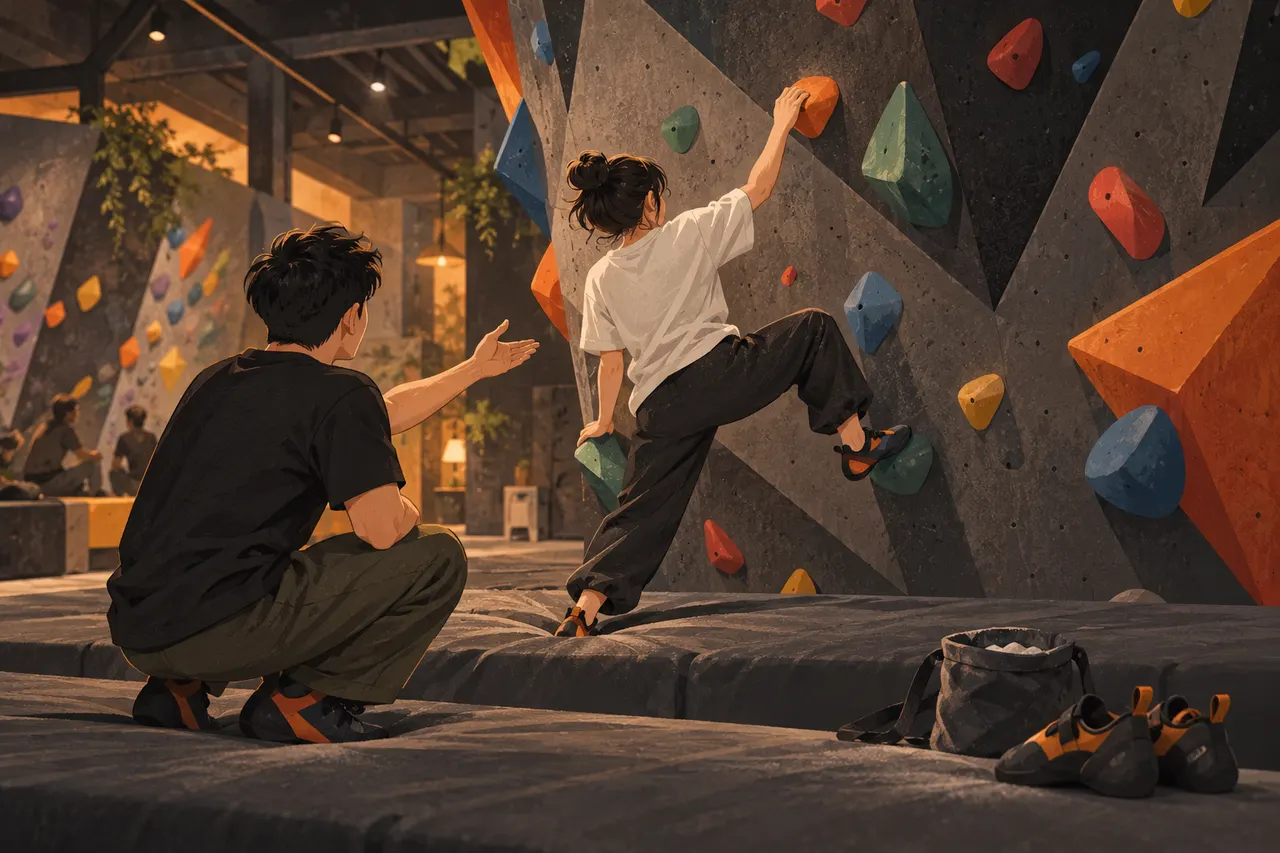
There was a separate small practice room for lessons, and problems were set for beginners. After the first-day lesson I could find low-grade problems and try them. I liked being able to try what I’d just learned right away.
Seoulsup Climbing Guro: location and booking info (Korean) ↗
The goal of the first day is not to climb well but to find out whether you want to come back. If you choose a different gym, check its price, lesson times and whether rental shoes are included. ₩30,000 is the price of the Guro package above, not a common price at every gym.
03 / YOUR FIRST KIT
If you liked it, a starter kit is about ₩120,000.
If you’ve been a few more times and want your own gear, start with climbing shoes and chalk. You don’t need to buy everything on your first visit. Below is the budget I suggest and the order I’d choose in.
Shoes + chalkabout ₩120,000
Adding a tripodabout ₩170,000
This is the gear budget Mangowontu suggests. It is not an actual purchase price or a bundle price. The first trial fee, later entry fees, transport and a chalk bag are separate.
Comfortable climbing shoes
about ₩100,000
Having fun comes first. Try them on and choose the pair that feels comfortable on your feet.
The Komet is what I actually chose; the Drifter was the comparison. Read about fit and the reason below.
Loose or liquid chalk
about ₩20,000
Check the rules of the gym you will use first, then choose loose or liquid chalk to your taste.
A chalk bag for loose chalk is a separate budget. Pick the form before the model.
Height-adjustable tripod
about ₩50,000
If you want to press record standing up and go straight to the wall, I recommend a tall tripod.
Skip it if you do not film. It is also handy for neighborhood photos outside the gym.
First climbing shoes: I went for the Drifter and came home with the Komet.
I originally went to 5gaGear (5가기어) to buy the Mad Rock Drifter. After measuring my feet, the shop said my forefoot was on the narrow side and recommended the Butora Komet. I chose that shoe and I’m happy using it.
Having fun comes first.
My rule is a shoe that doesn’t hurt.
Shoes that hurt make the sport hard to enjoy. Even if you’ve decided what to buy before you go, try it on and check that it fits your foot. The Drifter was the shoe I had planned to buy; the shoe I actually use is the Komet.
Product details and current prices for the two candidates
These are not what I paid. They are sales listings to help you set a budget for a first pair. The discounted prices I checked for both were around ₩100,000, and current prices and stock may differ. The Komet fits differently by colour, so below I compare the Mint, the narrow-fit version.
Butora Komet Mint
The Komet fits differently by colour. Butora’s official guide lists Mint as Narrow and Yellow as Wide. If your forefoot is narrow, compare the Mint model first.
Korean official store: product and price ↗ · Official fit guide ↗
Mad Rock Drifter
The retailer describes it as a shape that favours wider feet or a higher instep. If your feet aren’t narrow it is a candidate to compare, but the same model can feel different depending on your foot shape.
| Product compared | Sale price |
|---|---|
| Komet Mint | ₩97,200 |
| Drifter | ₩95,200 |
Don’t choose a size by forefoot width alone; try them on if you can. Mad Rock also says fit differs from foot to foot and recommends that beginners prioritise comfort. You don’t have to believe shoes must be painfully tight. Manufacturer sizing guide ↗
Chalk: about ₩20,000, in whichever form you prefer.
Check with the gym you’ll use whether loose chalk or liquid chalk is allowed. Within that, pick the form you prefer. About ₩20,000 is the budget I set for chalk; if you need a chalk bag for loose chalk, plan for it separately.
If you want to film too, about ₩50,000 for a tall tripod.
If you plan to film, I recommend a tall tripod so you can press record standing up and go straight to the wall. I chose that convenience over the portability of a small one. Also check whether it is comfortable to carry when folded and whether your phone stays steady once you’ve adjusted the height.
A tripod is not required to start. Add one when you want to film, and use it for photos while you explore the neighbourhood after a session. Follow the gym’s filming rules and place the tripod where staff say it is safe. Keep other climbers’ paths, and the space where a climber could fall, clear.
04 / BEFORE YOU GO
Prepare your first visit like this.
- Pick a gym in a neighbourhood you want to visit and check whether it has a lesson for first-timers.
- Check whether the lesson includes entry and climbing shoe rental.
- Read that branch’s booking times, what to bring and facility rules before you go.
- Learn basic etiquette and safety rules on site, and ask the instructor about anything you don’t know.
You don’t have to buy all the gear or decide to keep going for a long time on day one. Try one problem first, and after the session find somewhere to eat and look around that neighbourhood. The climbing I enjoy is close to that kind of day.